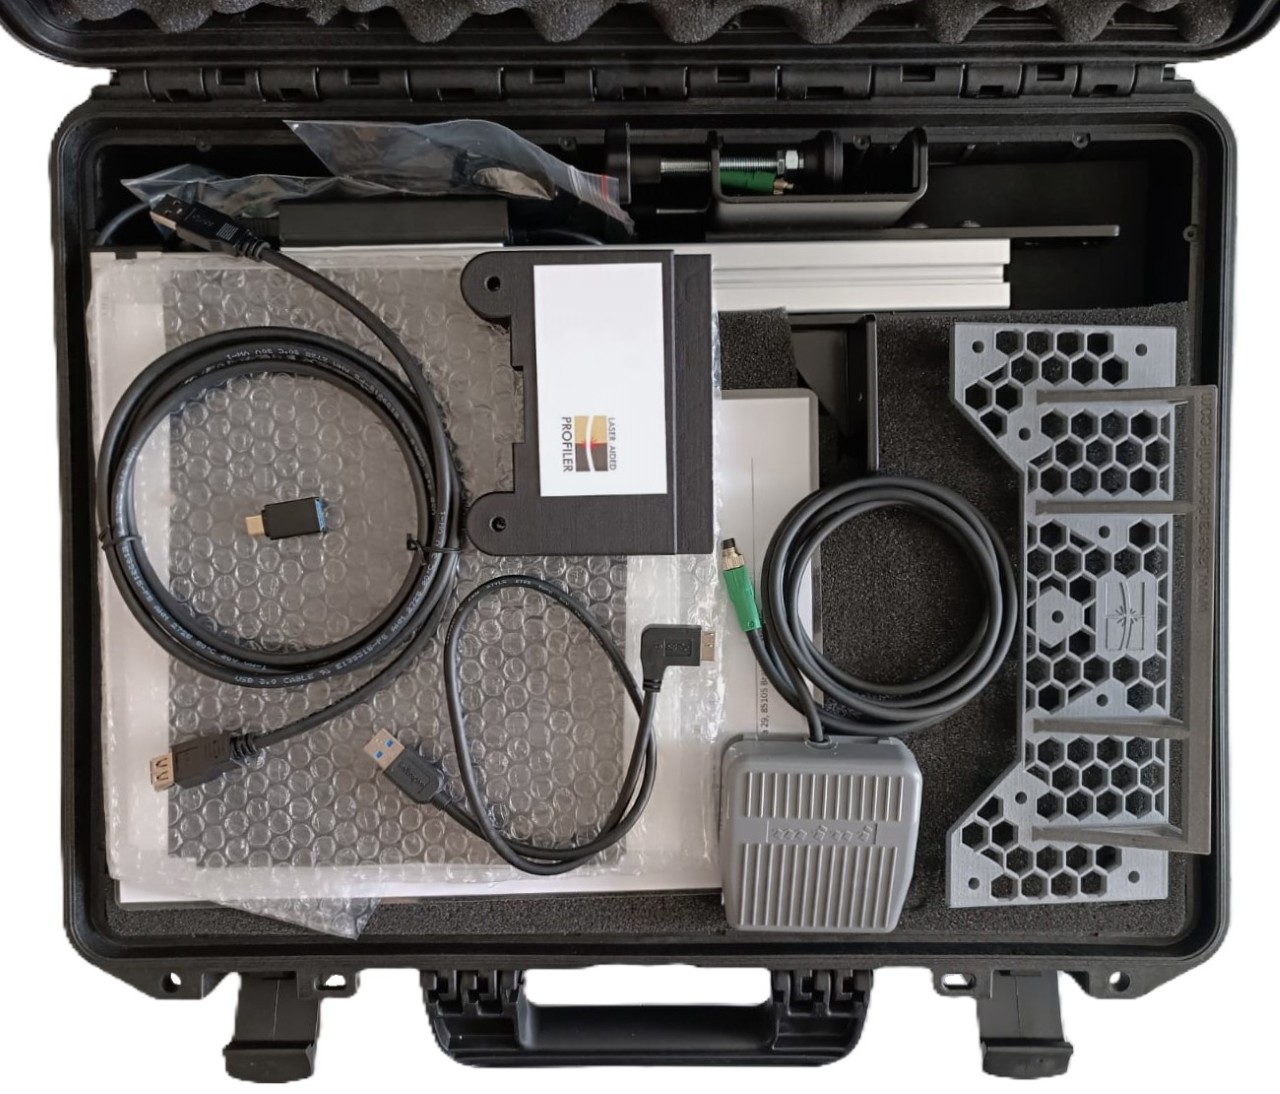
Disassembly
This section explains how to properly disassemble the LAP device for storage or transport. Each step should be followed carefully to avoid damaging sensitive components such as cameras, connectors, or the glass pane.
Disconnect Cables
Start by disconnecting all cables - round connectors and USB cables. Don't forget to unplug the USB cables at the sides of all cameras, as the connectors could be damaged when placing the device into its case or during transport.
Remove the Glass Pane
Remove the glass pane along with its holder, and also detach the helping hands. Wrap the glass in bubble wrap to protect it during transport.
Remove the Upper Part
Unscrew the four bolts fixing the upper part of the frame. Detach the upper frame carefully and place it into the cutouts in the foam layer at the bottom of the case. Store the hex keys and helping hands in the case as shown in the image below.
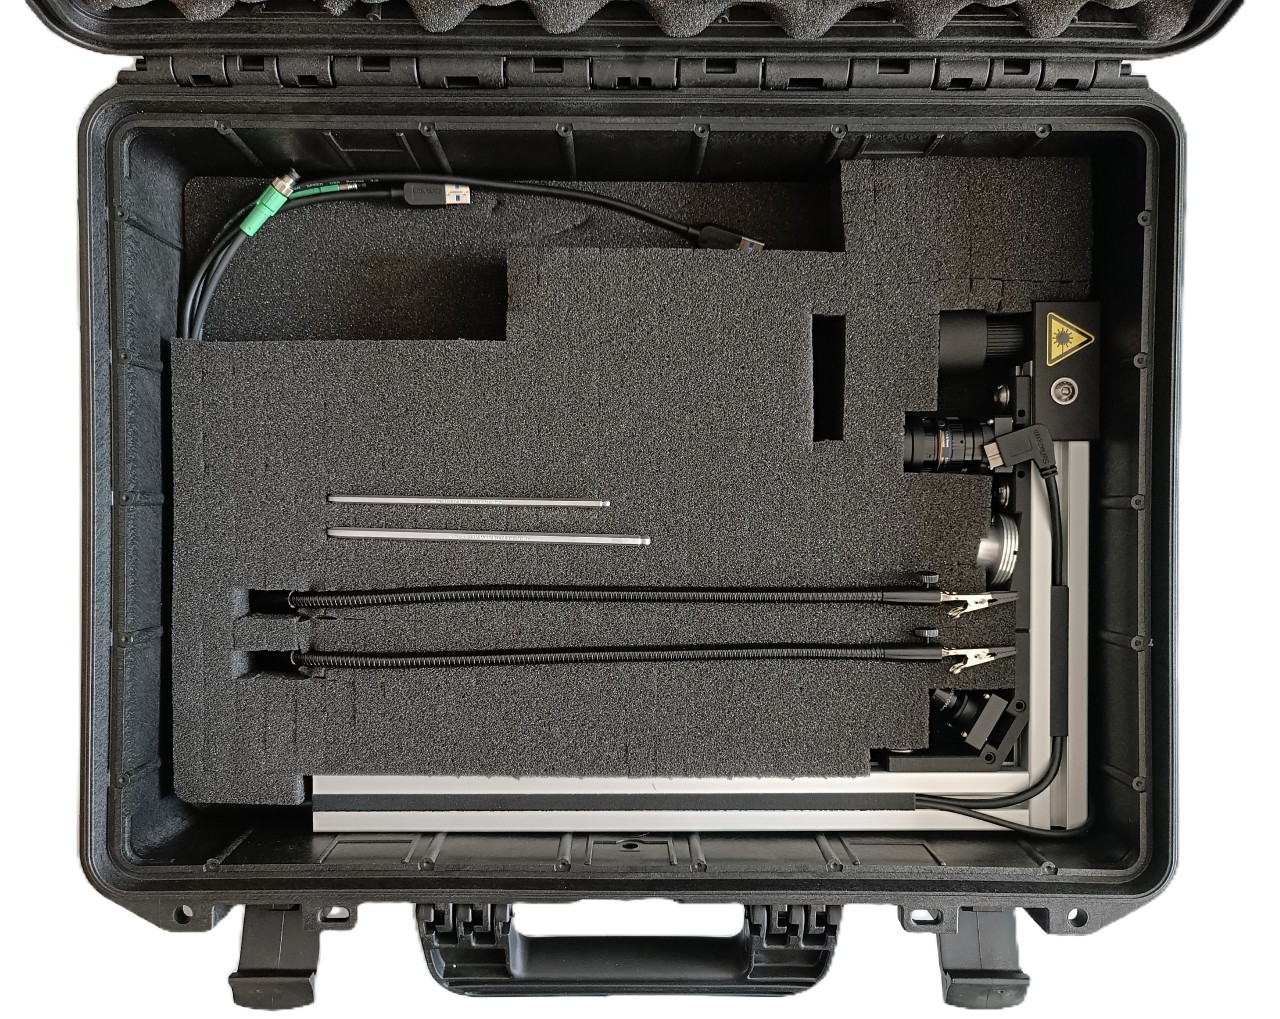
Place the rubber padding on top of this layer. It cushions the main components and helps prevent damage if they shift during transport.

Detach the Lower Part
Detach the lower part from the table edge and place it onto the rubber padding in the case. Insert the protruding part of the bracket into the hole in the rubber padding. Then, place the second foam layer around the lower part to hold it securely in place. Make sure that no cables are pinched or excessively bent.
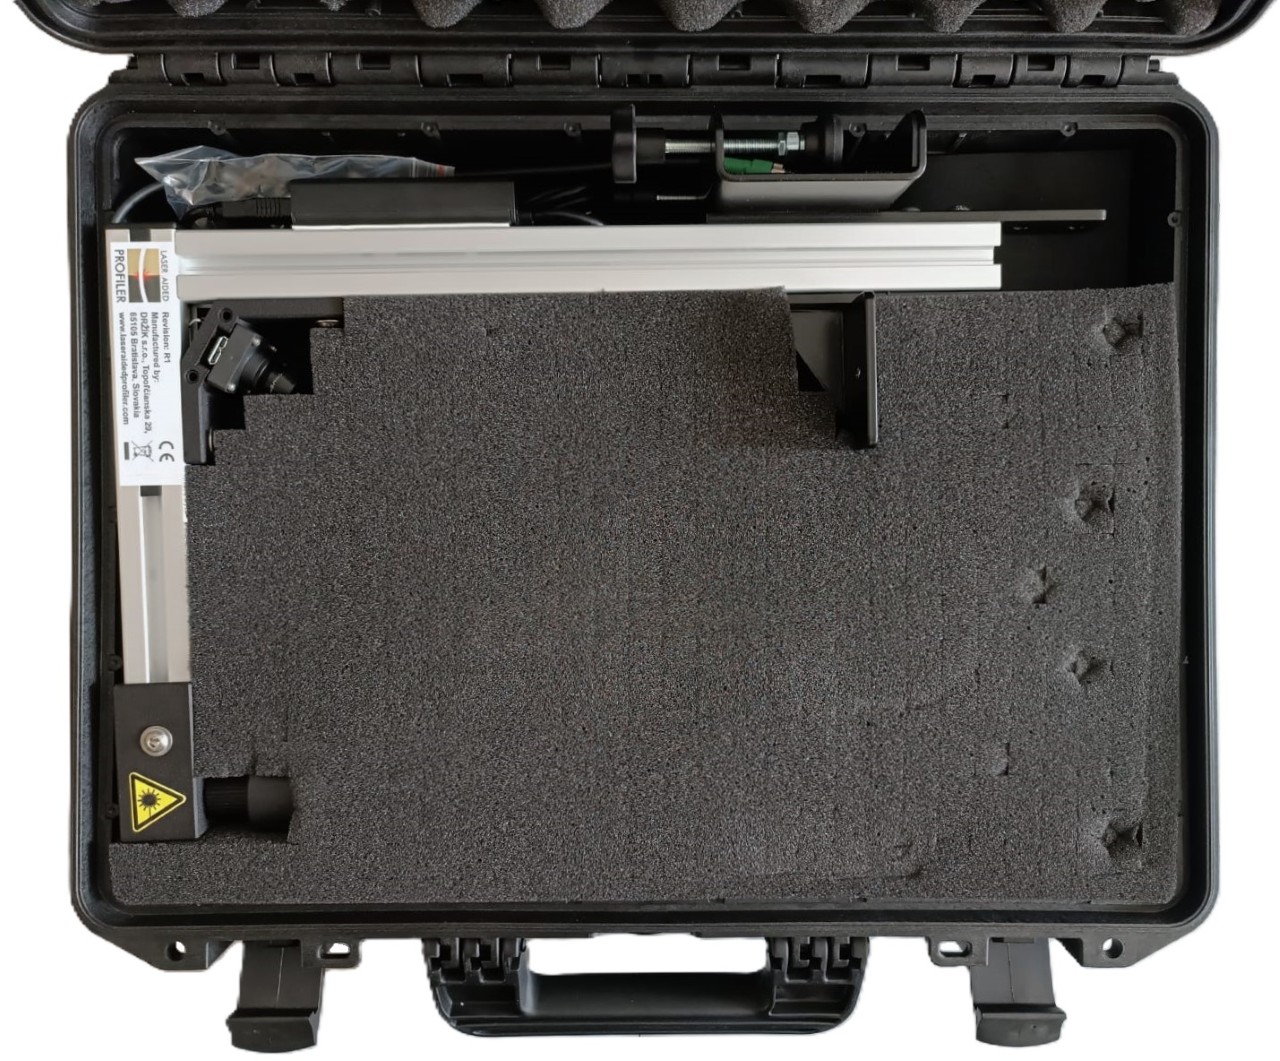
Place the glass pane, glass holder, short USB cable, extension cable, calibration item, and foot switch on top.